
If you're anything like me, you have a huge pile of fabric scraps laying around your craft room. And along with the pile, there's the never ending question: What can I do with all this extra fabric?
Making reusable makeup wipes is a quick and way to use up your fabric scraps in less than 15 minutes! With a couple of scraps, some extra thread, and a cookie cutter, you too can create this eco-friendly sewing project. Let's declutter your craft room with this simple scrap buster!


If a scrap covers the palm of your hand, you can turn it into a makeup wipe.
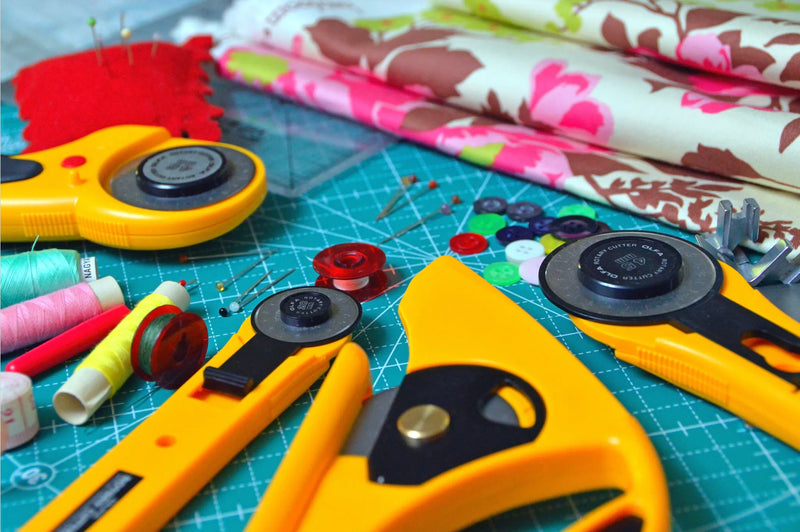
For this project, you'll need:
1. Fabric scraps (Preferably Modal French Terry)
2. Cookie cutter, protractor, or another circular object to trace
3. Pen or Chalk
4. Scissors or Rotary Cutter
5. Serger or Sewing Machine
I chose to use Modal French Terry from www.waymakerfabrics.com because I love the loops on the back of French Terry fabrics. I feel like they give the makeup wipe just a little bit of extra texture to help ease my makeup off. You can use any fabric of your choosing! Cotton is also an excellent choice.
For this project, I used one our our Faith Based Designs called "My Rock". I made a sweater for my pastor's daughter, and was able to use the leftover scraps to make several makeup removing wipes.
Step 1:
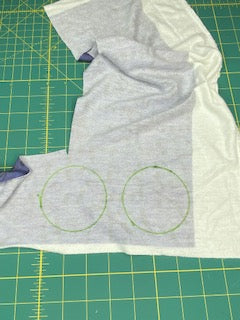
Lay out your fabric flat with the wrong side facing up. Using a cookie cutter, protractor, or circular object to trace a circle onto your fabric. Try to leave a 1/2" of space between each circle.

Step 2:
Use your rotary cutter and cut out your circles. IMPORTANT: Try to leave at least 1/4 inch of excess fabric around your circle to be your seam allowance. There is no need to measure the seam allowance exactly, nor is it important to have your seam allowance be perfectly round. It'll be trimmed off later!

Step 3:
Pin or clip your two pieces of fabric together. No need to line up your circles perfectly! In fact, you can draw a circle on one piece of fabric, and leave the other one blank. You only need one circle to use as a line to guide the needle of your sewing machine.
I like leave the soft side up, and leave the wrong side looped French Terry down. It's better for scrubbing off that makeup that way!
If you want to have a smooth side and a rough side, lay your fabric with WRONG sides up.

Step 4:
Time to serge your edges! When you serge your fabric, follow along the circle you drew on your fabric. If you don't have a serger, use a straight, zigzag, or other preferred stitch on your regular sewing machine.

NOTE: If you decide to use a zig-zag stitch, I recommend sewing your makeup wipe with a straight stitch first, leaving a 1 inch opening. Then you can turn the fabric inside out and sew the remaining gap. You can then add a top stitch with a zig-zag stitch or other decorative stitch if you prefer.
Step 5:
Once you've made your complete circle on your serger, clip the thread, and leave a small tail.

Step 6: Optional Tail Tuck
Tuck your serger tail back into the makeup wipe to secure the threads. I use an oversized needle with a large eye for this. Slip the needle through the serged loops, going the opposite direction that you serged your wipe in. Then feed the threads through the eye of the needle. Pull the needle and thread completely through the loops, causing the folds in the threads back into themselves. Once the fabric is through the loops, trim any excess threads. (See the photos below for guidance!)


All done!
Get creative with your remnants and feel good about making something useful from what you already have. Let me know if you try this fun project - I want to see your amazing makeup remover masterpieces!
0 comments